How to use AI to put lipstick on your face?
This note uses two short programs. The first paints the lips a half see-through dark red and adds a darker line around their edge, like lip liner. The second paints the same lips in 10 named shades of red and saves one picture for each.
Both start from the key points you met in How does AI find the key points on your face?. The lips are the largest part with points on both the outer edge and the inner edge, which is what makes them easy to fill without covering your teeth.
Before and after
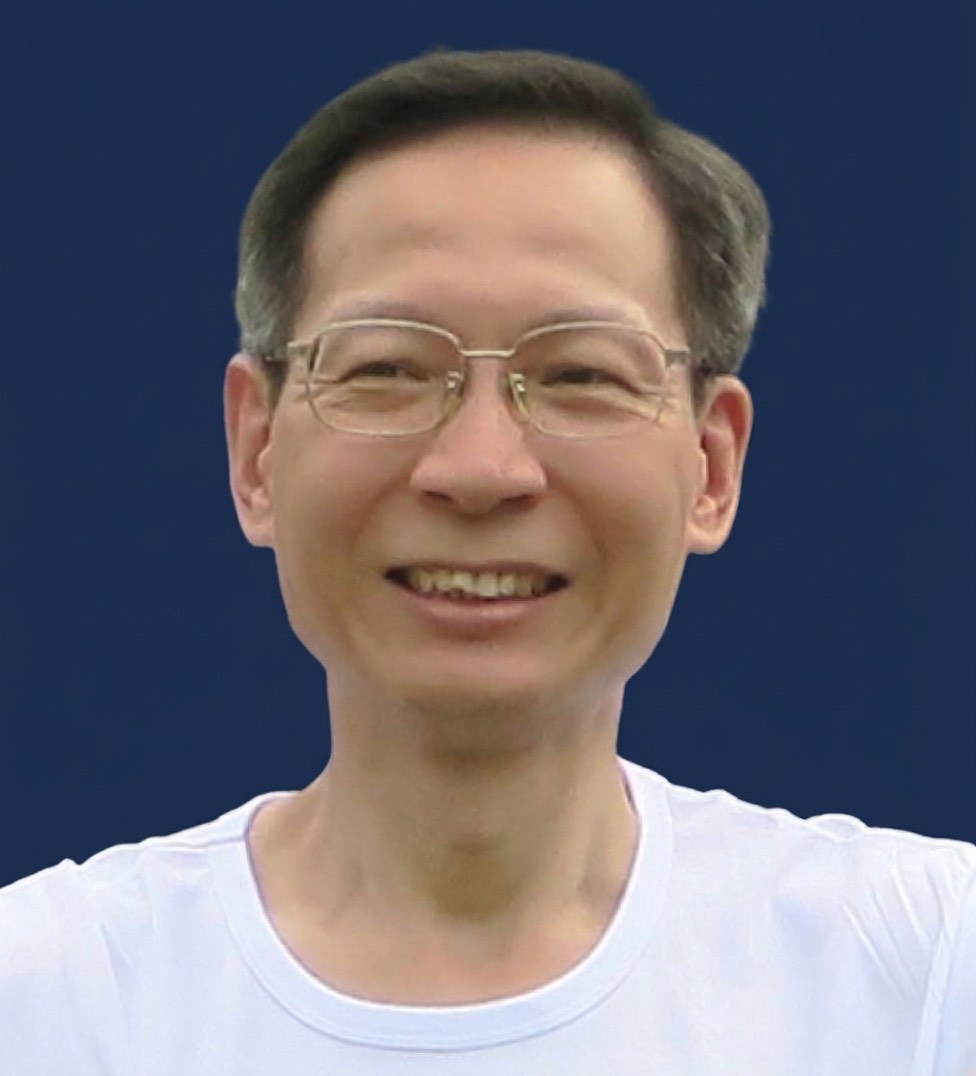
my_photo.jpg.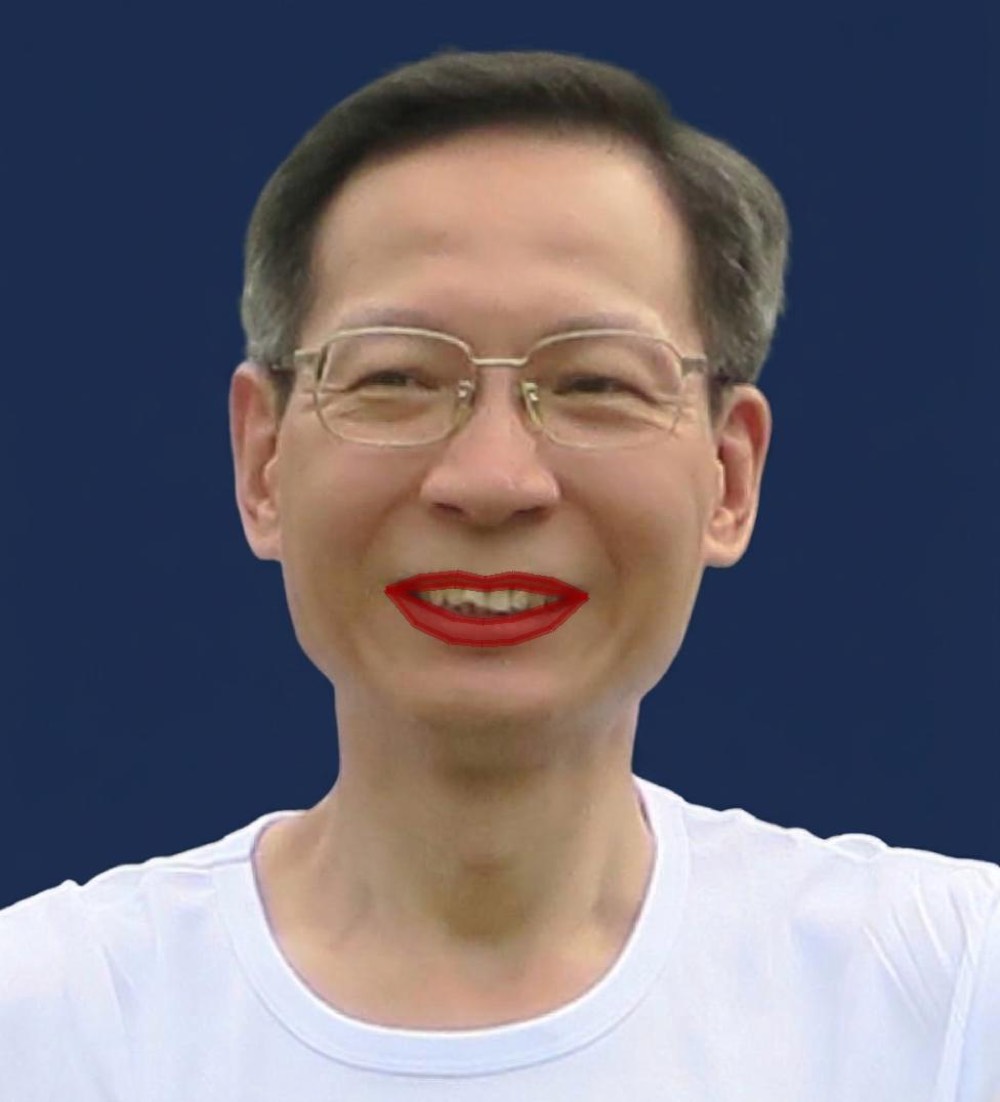
my_photo_lip.jpg.Part 1: one red, with an outline
The first program is 14 lines. The opening is identical to the earlier notes: read the photo, find the points, and make a drawing tool that mixes colour with the pixels underneath.
1. Choose the red
color_lip = (150,0,0,125)Red 150 with no green or blue gives a dark red. The fourth number, 125, is about half of 255, so the colour is half see-through and your own lips still show through it.
2. Fill the top lip and the bottom lip
# Fill the lip with color_lip
d.polygon(face_landmarks['top_lip'], fill=color_lip)
d.polygon(face_landmarks['bottom_lip'], fill=color_lip)
Each lip has 12 points. They run along the outer edge of the lip, then come back along the
inner edge where the lip meets the mouth opening. polygon joins them in order and
fills the area inside, so the shape it fills is the lip itself and not the mouth. That is why
the teeth stay white.
3. Draw a darker line around the edge
d.line(face_landmarks['top_lip'], fill=color_lip, width=8)
d.line(face_landmarks['bottom_lip'], fill=color_lip, width=8)
The same 12 points for the lips are used a second time, now joined by a line 8 pixels wide in the same colour, which draws along the border of the lips. So the border is painted twice, but the inside of the lips only once. Two layers of a see-through colour look darker than one, so the border of the lips is darker than the inside.
Part 2: 10 shades of red
The second program is 33 lines, and it reuses the same two fills. What is new is how it chooses colours and how it saves the results.
1. Put the 10 colours in one place
# 10 colors of red: (red, green, blue, see-through)
# The 4th number is 0 (invisible) to 255 (solid)
colors = {
    'cherry':    (190, 20, 40, 120),
    'scarlet':   (230, 30, 20, 110),
    'crimson':   (170, 10, 50, 120),
    'ruby':      (155, 15, 70, 120),
    'brick':     (165, 50, 35, 110),
    'coral':     (240, 90, 80, 110),
    'rose':      (210, 70, 100, 110),
    'wine':      (115, 15, 40, 130),
    'burgundy':  (100, 10, 30, 140),
    'blood':     (140, 0, 0, 130),
}
Between the curly brackets is a dictionary: ten pairs of a name and four numbers. Red is the largest of the first three numbers in every pair, so all ten are kinds of red. Higher green and blue make a shade lighter — coral is the lightest here. Lower numbers everywhere make a shade darker — burgundy is the darkest. The fourth number is near half, so the lips still show through.
2. Paint one shade at a time, on a fresh copy
# Make the 10 colors one by one
for name, color_lip in colors.items():
    # Start from a fresh copy of the photo each time, so the colors do not pile up
    lip_image = pil_image.copy()
    d = ImageDraw.Draw(lip_image, 'RGBA')
The loop runs ten times. Each time, name is a shade name and
color_lip is its four numbers.
The copy matters. If the program painted straight onto the original picture, the second shade would be laid over the first, the third over the second, and by the tenth the lips would be a muddy mix of all ten. Drawing on a copy means every shade starts from the clean photo.
3. Name each file after its shade
    # Save each color as an image file named after the color, e.g. lip_cherry.jpg
    lip_image.save("lip_" + name + ".jpg")
    print("Saved", "lip_" + name + ".jpg")
Three pieces of text are joined with +: "lip_", the shade name, and
".jpg". For cherry that gives lip_cherry.jpg. The program also prints
each name as it goes, so you can watch all ten being written.
The ten shades
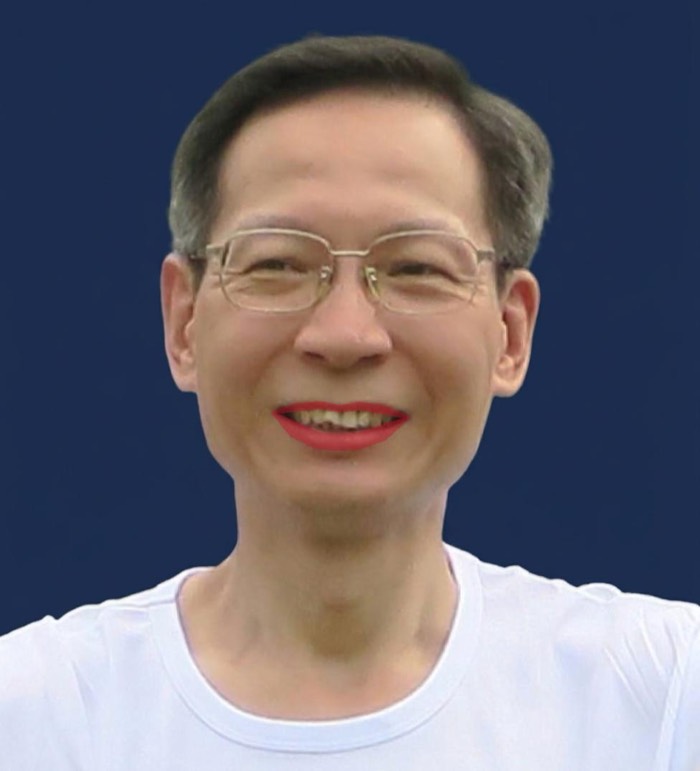
lip_cherry.jpg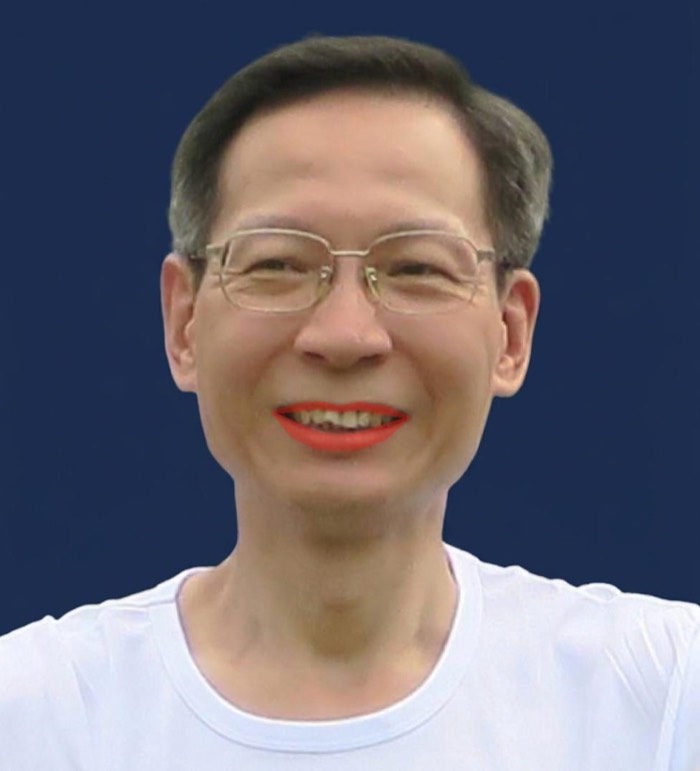
lip_scarlet.jpg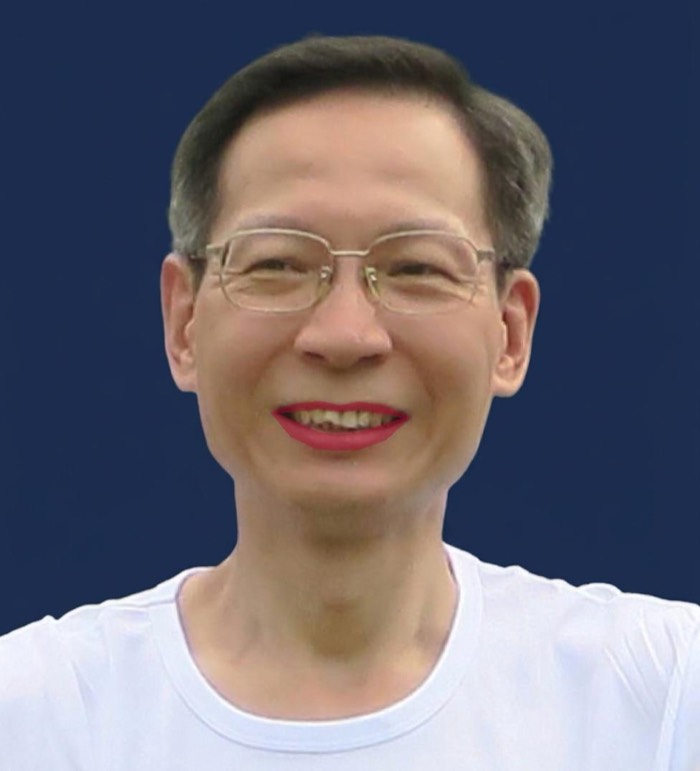
lip_crimson.jpg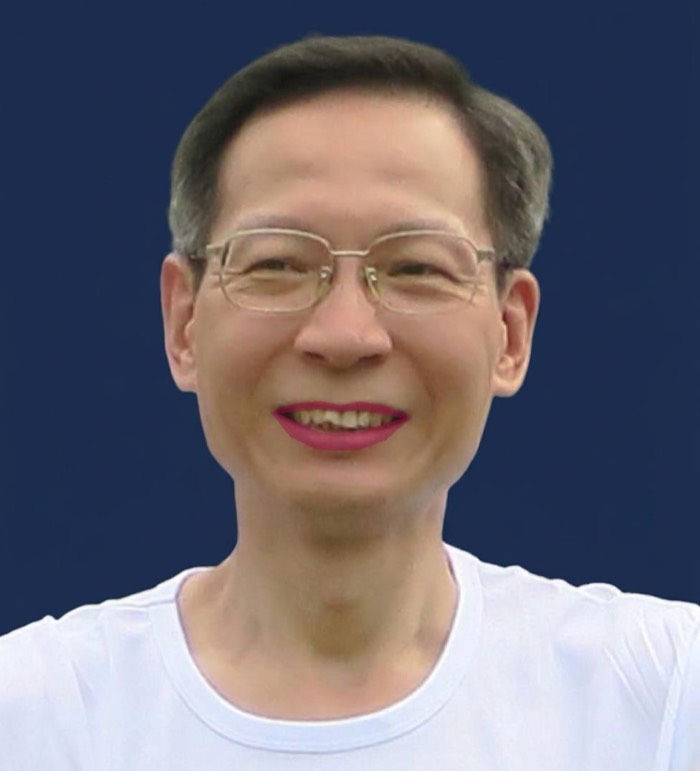
lip_ruby.jpg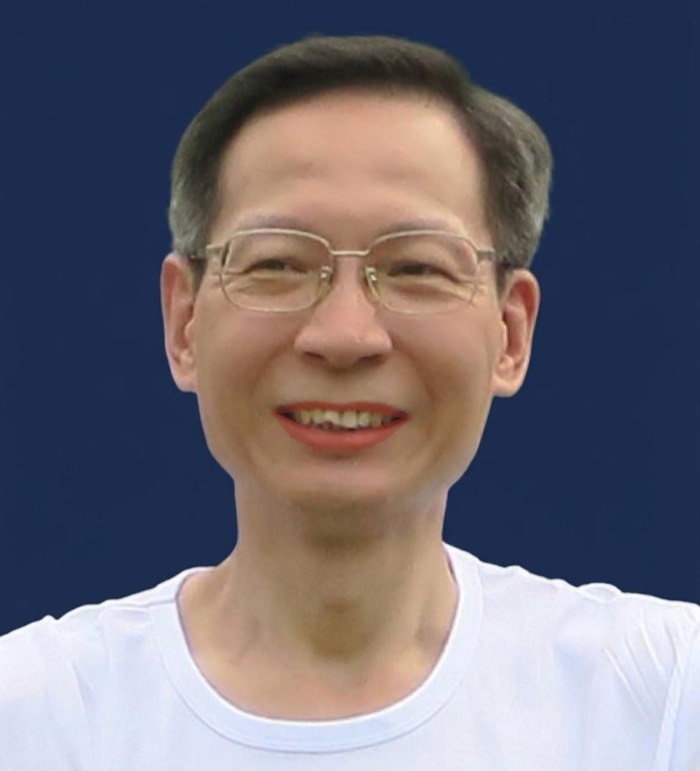
lip_brick.jpg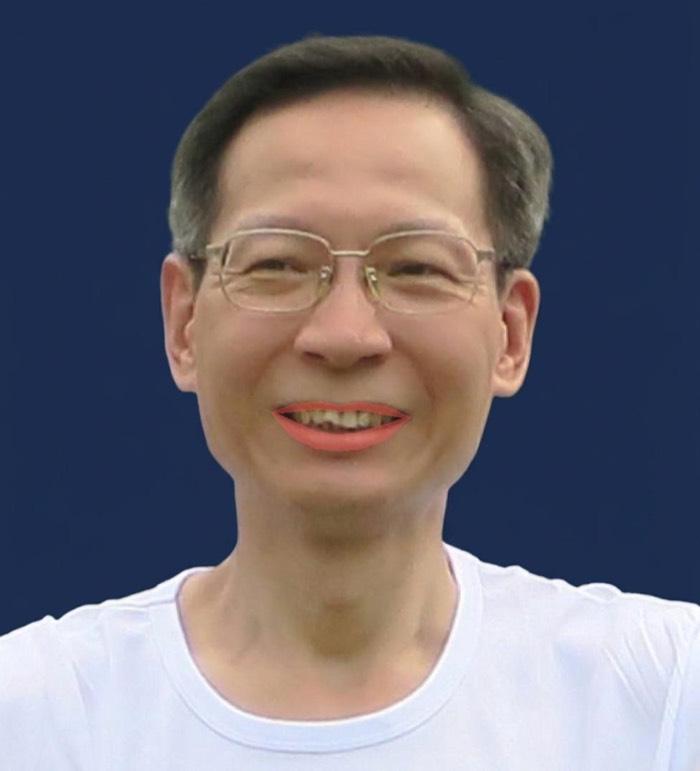
lip_coral.jpg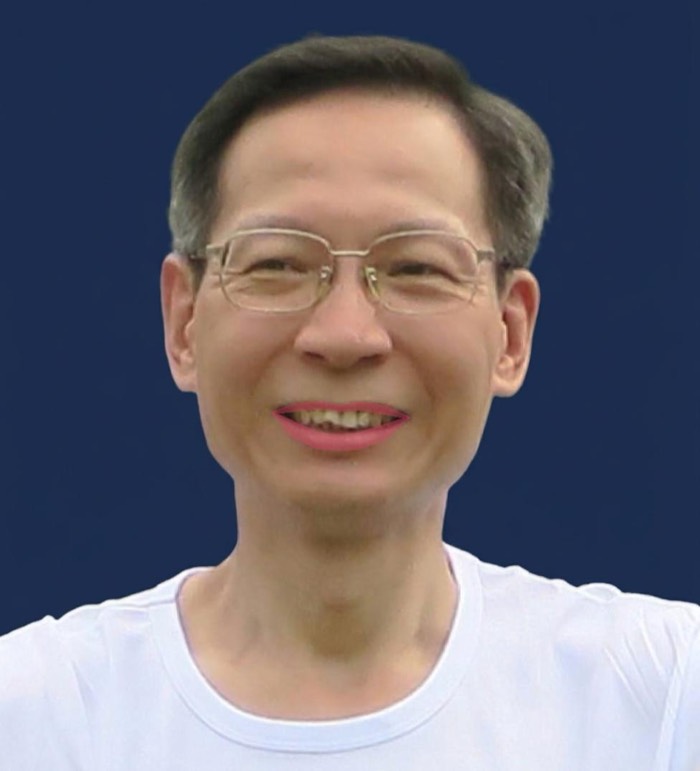
lip_rose.jpg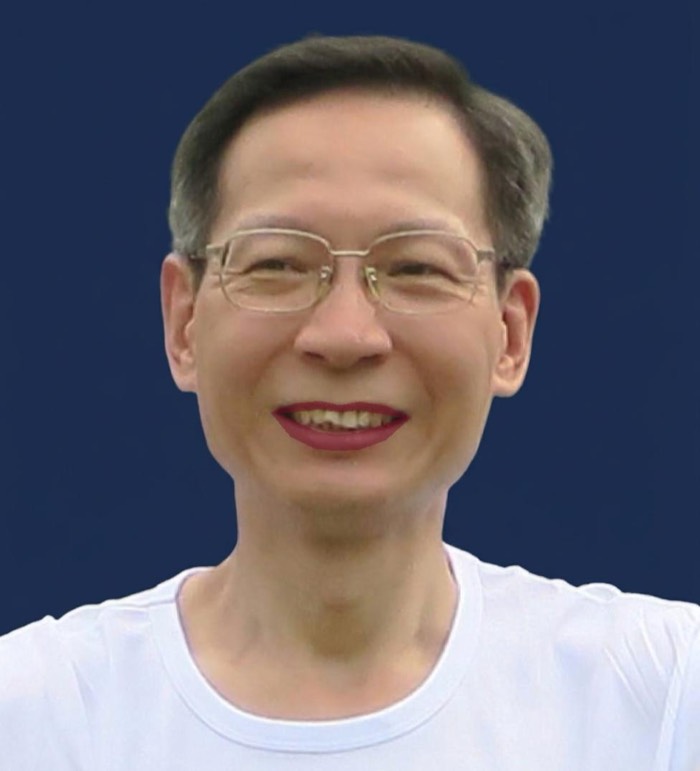
lip_wine.jpg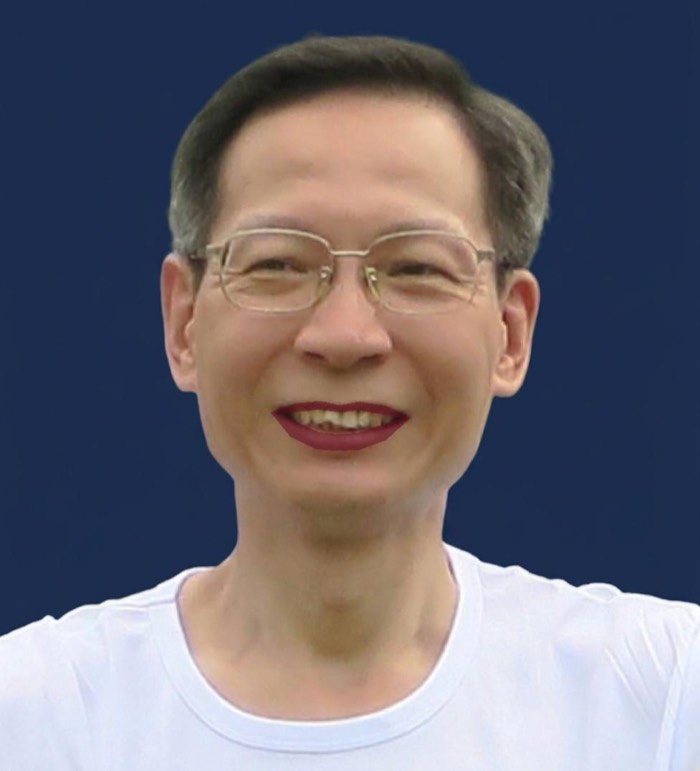
lip_burgundy.jpg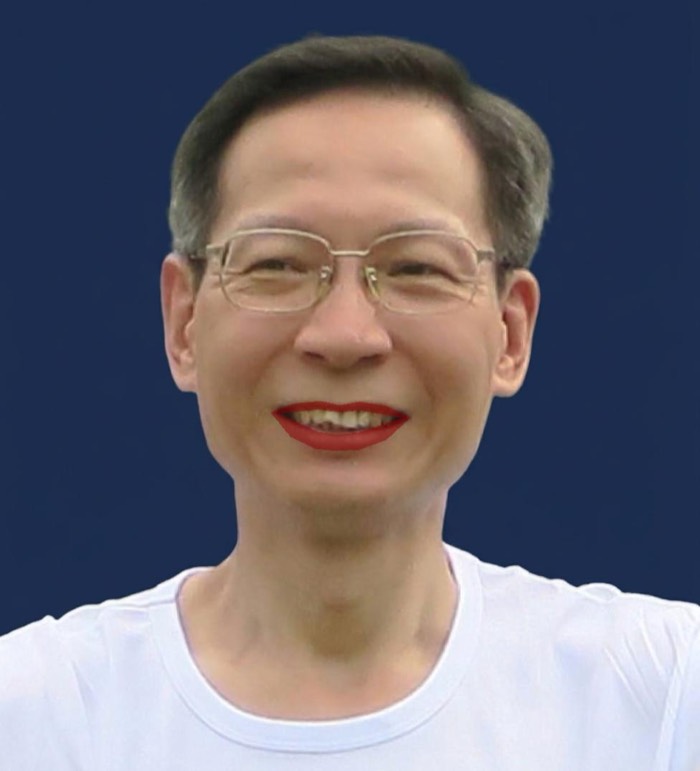
lip_blood.jpgThe whole program
The first program, complete, 14 lines:
from PIL import Image, ImageDraw
import face_recognition
image = face_recognition.load_image_file("my_photo.jpg")
face_landmarks_list = face_recognition.face_landmarks(image)
pil_image = Image.fromarray(image)
for face_landmarks in face_landmarks_list:
    d = ImageDraw.Draw(pil_image, 'RGBA')
    color_lip = (150,0,0,125)
    # Fill the lip with color_lip
    d.polygon(face_landmarks['top_lip'], fill=color_lip)
    d.polygon(face_landmarks['bottom_lip'], fill=color_lip)
    d.line(face_landmarks['top_lip'], fill=color_lip, width=8)
    d.line(face_landmarks['bottom_lip'], fill=color_lip, width=8)
    pil_image.save("my_photo_lip.jpg")
The second program, complete, 33 lines:
from PIL import Image, ImageDraw
import face_recognition

# 10 colors of red: (red, green, blue, see-through)
# The 4th number is 0 (invisible) to 255 (solid)
colors = {
    'cherry':    (190, 20, 40, 120),
    'scarlet':   (230, 30, 20, 110),
    'crimson':   (170, 10, 50, 120),
    'ruby':      (155, 15, 70, 120),
    'brick':     (165, 50, 35, 110),
    'coral':     (240, 90, 80, 110),
    'rose':      (210, 70, 100, 110),
    'wine':      (115, 15, 40, 130),
    'burgundy':  (100, 10, 30, 140),
    'blood':     (140, 0, 0, 130),
}

image = face_recognition.load_image_file("my_photo.jpg")
face_landmarks_list = face_recognition.face_landmarks(image)
pil_image = Image.fromarray(image)
# Make the 10 colors one by one
for name, color_lip in colors.items():
    # Start from a fresh copy of the photo each time, so the colors do not pile up
    lip_image = pil_image.copy()
    d = ImageDraw.Draw(lip_image, 'RGBA')
    for face_landmarks in face_landmarks_list:
        # Fill the lip with color_lip
        d.polygon(face_landmarks['top_lip'], fill=color_lip)
        d.polygon(face_landmarks['bottom_lip'], fill=color_lip)
    # Save each color as an image file named after the color, e.g. lip_cherry.jpg
    lip_image.save("lip_" + name + ".jpg")
    print("Saved", "lip_" + name + ".jpg")
Running it on your own computer
Download the zip file and unzip it to
a folder. The zip holds all six programs in this series; this note uses
face03_lip.py and face04_lip.py. Add your own photo to that folder and
name it my_photo.jpg. Open the folder in Visual Studio Code, then type these four
lines in the terminal:
uv python pin 3.12.10
uv sync
uv run face03_lip.py
uv run face04_lip.py
The first line records which Python version this folder uses, and the second installs every
package that pyproject.toml lists. The third line saves
my_photo_lip.jpg; the fourth saves the ten files from lip_cherry.jpg to
lip_blood.jpg.
If you have not set up uv yet, start with How to install Visual Studio Code? and then the uv note for Windows or Mac.
Technical note: the face-recognition package depends on another package called
dlib. The project file in the zip already points to a prebuilt version of
dlib, so uv sync installs it ready to use and you do not need to
install a compiler.
What this is good for
This is a try-before-you-buy tool in its simplest form. The AI answers “where are the
lips?”, and changing one line — either the numbers in color_lip or a
name in colors — gives a different shade. Add a name and four numbers and you
have an eleventh shade, saved to its own file.
Two limits are worth knowing. Colour changes, but shape does not: a real lipstick can also widen or sharpen the lip line. And the outline trick makes the edge darker by drawing the same colour twice, so it cannot be a different colour from the fill without a small change to the program.